3.2 Navigating the Chart
This section describes how to move around a relationship chart by:
3.2.1 Navigating to the Next Higher Level
To navigate and expand to the next higher level in the relationship tree:
-
Click
 in the current top-level card.
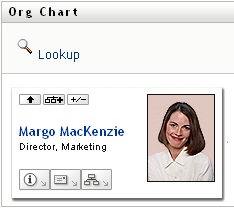
For example, suppose that Margo clicks in this view:
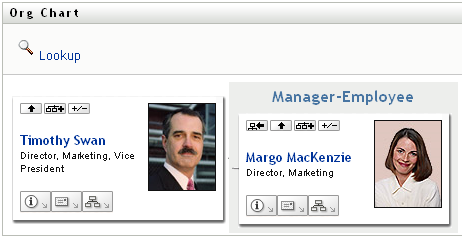
Her view expands to include the level above her:
is available only if the user in the card is assigned a manager. If this function is not available to you, check with your administrator.
You can go up a level twice for a card.
3.2.2 Resetting the Root of the Relationship
To reset the root of your view of the relationship chart:
-
Find the card of the user whom you want to the new root.
-
Click
 , or click the user’s name (the name is a link) on that card. The chosen card becomes the root of the organization chart.
For example, suppose Margo Mackenzie clicks Make This Entity the New Root in her own card in this view:

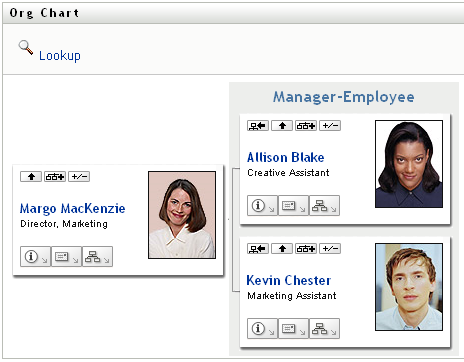
Her card becomes the new root and is now at the top of her organization chart:
3.2.3 Switching the Default Relationship
-
Click t
 to change your default relationship.
-
Select the type of relationship to display. Your administrator can use relationships supplied by Novell (see Table 3-1) and can also define customized relationships.
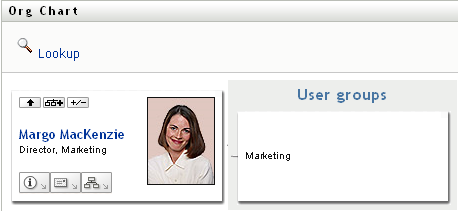
Margo Mackenzie changes her default relationship display to User Groups:
3.2.4 Expanding or Collapsing the Default Chart
The default relationship chart is Manager-Employee, unless you or your administrator sets it to another type. To expand or collapse the default chart:
-
Find a card for which you want to expand or collapse the default relationship display.
-
Click the
 toggle button.
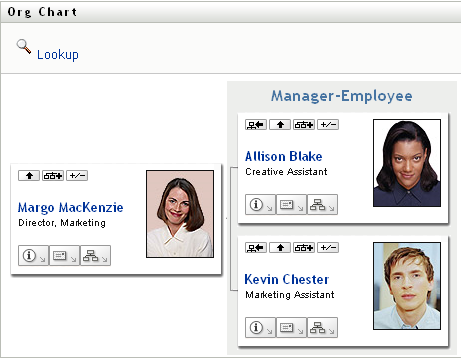
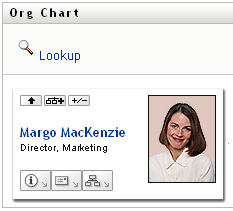
The chart expands or collapses to display or hide the subsidiary cards that are related to your chosen card. For example, the following two views show the Expand view and then the Collapse view.
3.2.5 Choosing a Relationship to Expand or Collapse
-
Identify a card whose relationships you want to view.
-
Click
 in that card. A drop-down list opens.
-
Select a relationship and action from the drop-down list:
Additional relationships are available in the list if your administrator defines them.
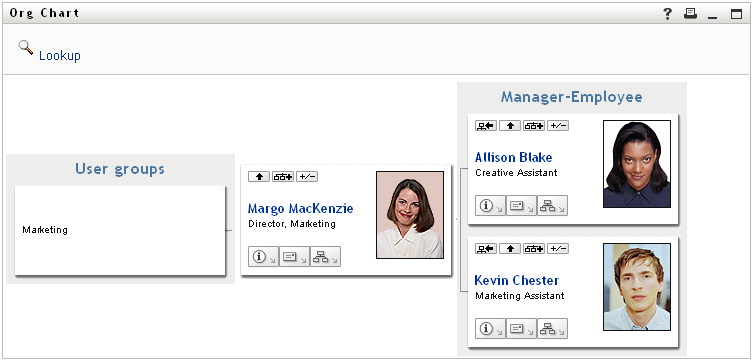
In the following example, Margo MacKenzie clicks and selects :
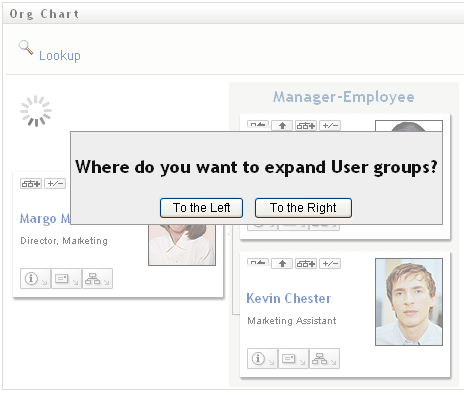
She then clicks and sees the following:
3.2.6 Looking Up a User in Organization Chart
You can look up a user in Organization Chart. This search is a quick way to find a user who is not in your current view or relationship chart. The looked-up user becomes the new root in your view.
-
Click the link at the top left corner of the chart.
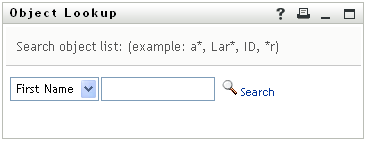
The Lookup page displays:
-
Specify search criteria for the user you want:
-
Use the drop-down list to select whether the search is by or .
-
In the text box next to the drop-down, type all or part of the name to search for.
The search finds every name that begins with the text you type. It is not case sensitive. You can optionally use the asterisk (*) as a wildcard in your text to represent zero or more of any character.
For instance, all of the following examples find the first name Chip:
Chip
chip
c
c*
*p
*h*
-
-
Click .
The Lookup page displays your search results:
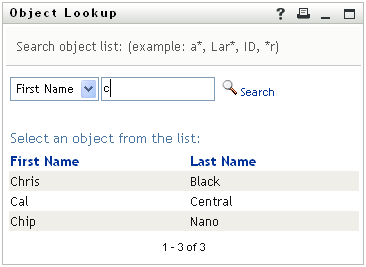
If you see a list of users that includes the one you want, go to Step 4. Otherwise, go back to Step 2.
You can sort the search results in ascending or descending order by clicking the column headings.
-
Select the user you want from the list.
The Lookup page closes and makes that user the new root in your view of the chart.