4.5 Setting Up Server and Database Access for the Notes Gateway User
Because you will run the Notes Gateway on a server other than the Notes/Domino server, the user you just created in Section 4.4, Registering the Notes Gateway As a Notes User needs appropriate access to the Notes/Domino server and Notes databases.
4.5.1 Providing Access to the Notes/Domino Server
When you start the Notes Gateway for the first time, it creates a Notes secondary Address Book (wpnames.nsf) on the Notes/Domino server that contains the addressing information from the GroupWise Address Book. It also creates a gateway mail file (notesgateway.nsf) that is used for communication between the two systems. You need to provide the Notes Gateway user with the type of access it needs to perform these tasks.
-
Run the Notes/Domino Administrator as a user with Manager access to Notes databases (worksheet item 11).
-
Open the Notes public Directory:
-
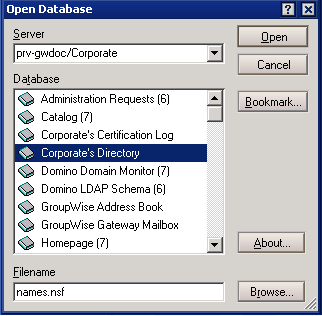
Click .
-
In the field, select the Notes domain where you want to open the public Directory.
-
In the field, select the Directory for that domain.
-
Click .
-
-
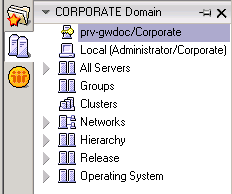
On the menu, select the Notes/Domino server that will communicate with the Notes Gateway.
-
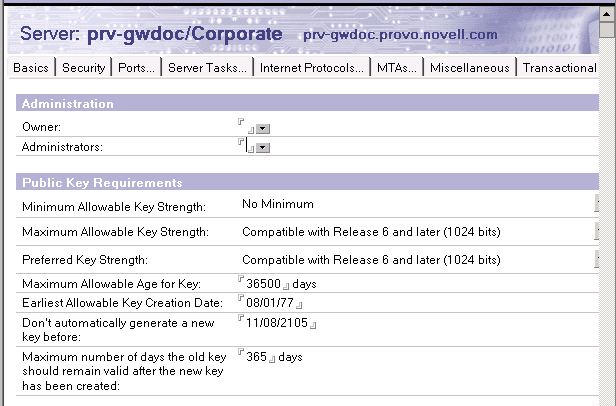
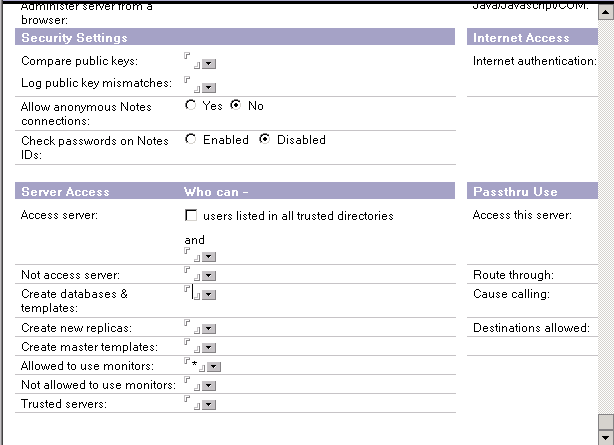
On the tab, expand the drop-down list, select .
-
On the tab, click .
-
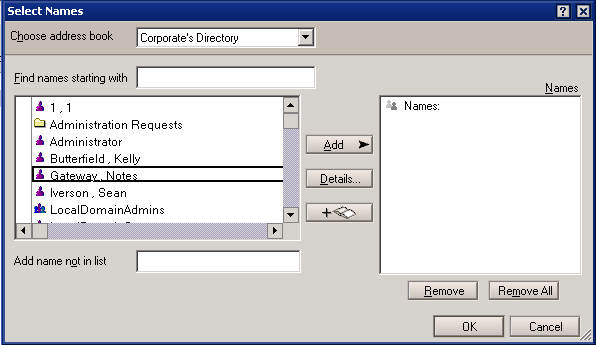
In the field, click the drop-down list.
-
Select the Notes Gateway user (worksheet item 11), click , then click .
-
Click .
-
In the field, click the drop-down list.
-
Select the Notes Gateway user (worksheet item 11), click , then click .
The Notes Gateway creates the wpnames.nsf file and the gateway mail file one time only. This means that you can change the access rights of the Notes Gateway user after these databases have been created.
-
Click .
-
Continue with Providing Access to Notes Databases.
4.5.2 Providing Access to Notes Databases
During operation, the Notes Gateway requires access to various Notes databases that already exist in your Notes system. Ensure that the gateway has the required access to the following Notes databases:
|
Database |
Access |
Description |
|---|---|---|
|
Editor or Manager |
The Notes public Directory. For instructions to set rights, see Providing Access Rights to the Public Directory |
|
|
Manager or Editor |
The GroupWise secondary Directory containing all GroupWise users; you will not be able to grant this access until after the database has been created or you have copied it from the domain\wpgate\notes directory. |
|
|
Manager or Editor |
The gateway mail file you specified in the Gateway Mail File Name field (worksheet item 11) when defining the GroupWise system as a Notes foreign domain. See Section 4.3, Defining the GroupWise System As a Notes Foreign Domain. |
Providing Access Rights to the Public Directory
-
In the Notes/Domino Administrator, open the Notes public Directory:
-
Click .
-
In the field, select the Notes domain where you want to open the public Directory.
-
In the field, select the Directory for that domain.
-
Click .
-
-
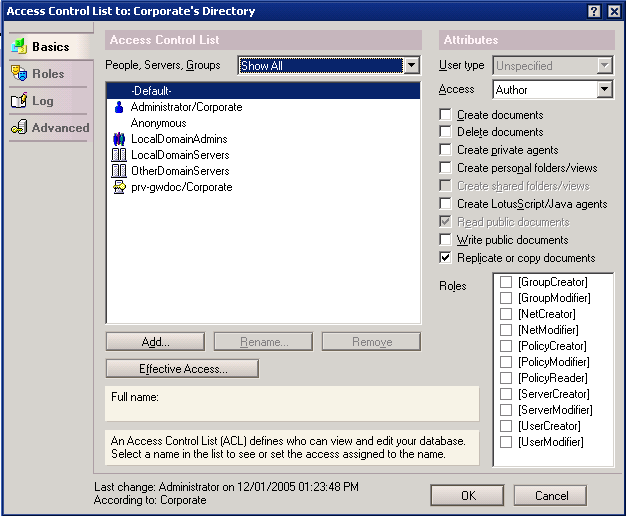
Click to display the Access Control List.
-
Click .
-
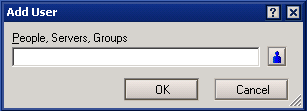
Click the icon, select the Notes Gateway user (worksheet item 11), click , then click .
-
From the drop-down list in the Access Control List, select .
-
From the drop-down list, select either or .
-
Click .
-
Continue with Starting the Notes Client on the Notes Gateway Server.